• Home
  • All Posts
  • Style
  • Lifestyle
  • Beauty
  • About
  • Advertising+Publicity
    • Let’s Get Social!
    • Facebook
    • Instagram
    • YouTube

Pretti Please

by Jacqueline

Categories: DIY, Lifestyle, Style

Tips for Reselling Designer Items

Screen Shot 2015-05-28 at 7.43.40 PM

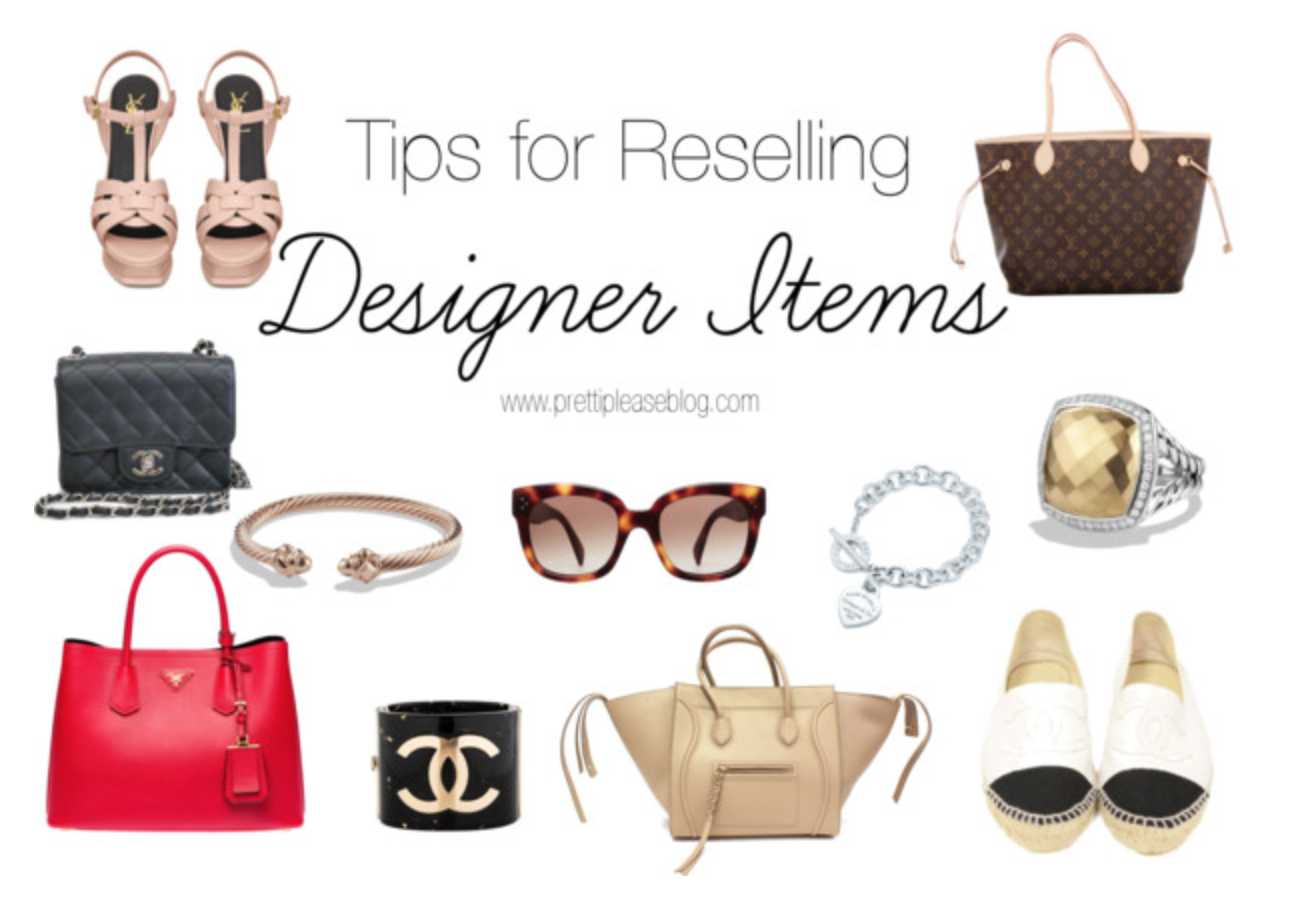
Do you have a designer handbag that you aren’t crazy about?  Some trendy wedges that didn’t end up fitting as well as you’d hoped?  A gorgeous dress that doesn’t fit your style anymore?  Well, you’ve come to the right place.  For years, I’ve been reselling items on eBay in order to make space in my closet and recoup a generous percentage of the retail price.  In my experience, the best way resell designer items is online.  At first, it can be a bit tricky to navigate eBay and designer resale sites – but I promise you will get a lot more money selling your used designer goods online than you would by handing your gently-used items over to a consignment store for them to resell.  Do it yourself and get more than just a small percentage of the sale.  Join the millions of fashionistas that are reselling their pre-loved designer items online!

I have quite a bit of experience in designer resale online and have put together my best tips below for those of you who are ready to get rid of a few things while also recovering some of the funds you put into them.  Hopefully my tips make letting go of your gently used items a little less painful!

Read more

Categories: DIY, Lifestyle, Style

Bridal Shower Fun!

This past weekend, my mother, sister, and I had the pleasure of hosting our dear family friend’s bridal shower! The bride, Robin, and her sister, Carly, have been part of our lives for as long as I can remember. They used to babysit the whole Bridgford bunch (all 5 of us!) and have always been like big-sisters to me!

My mom and I had soo much fun planning the shower!  She did most of the planning/ordering and I did most of the crafting/decor.  We booked a private room at Prego in Irvine, CA.  In preparation for the shower, I looked at dozens of pinterest boards for games, prizes, and fun decor possibilities.  We ended up ordering a gorgeous cake from Cinderella Cakes in Laguna Hills.  In addition, we ordered  delicious (and super stylish) “wedding dress” cookies to give out as party favors. During the event, we played three games: “It’s All About Robin,” “Who Got the Groom?,” and a fun fill-in-the-blank game using candy bars as the answers.  Keep reading for full details on the games, decor, and desserts!

IMG_4091Pictured left to right: Susan (aka my gorgeous mom), Robin’s friend, Robin (the bride!), Ashley, Me, and Carly (Robin’s sister)

THE GAMESIMG_90631. The first game, “It’s All About Robin,” consisted of 15 questions…all about the bride! Whoever answered the most correctly got to pick their prize!

IMG_90522. The second game, “Who Got the Groom?,” was a simpler game where we handed out a hot pink envelope to each guest.  When we said to open the envelope, whoever got the popsicle stick with a picture of the groom (in a  tuxedo!) attached to it was the winner.  This was our adaptation of when the bride throws the boutique at a wedding – whoever won was next to be married! Robin’s best friend who flew in from New York was the winner.  Check out the photos below to see some of the other handsome guys involved in the game!

IMG_90643. The third game was the most fun, in my opinion! My mom put together a big poster board full of candy bars, which served as our “word bank.”  We then got a sheet of questions that we answered using the names of candy bars – it was really funny!  The winner won the board full of candy, of course.

THE SETTING, DECOR, AND FOOD
I was absolutely obsessed with the way that Robin’s chair decorations turned out! I simply got a bunch of white tulle, cut it into long strips, and looped the strips around the chair.  My mom brought a string of white flowers that I wove into the tulle as well! We bought the metallic vases for the centerpieces and had a local florist put together the arrangements. They looked fabulous!  The food at Prego was absolutely delicious. We had appetizers consisting of grilled vegetables, caprese salad, and several other small bites.  We had a light salad and then several different types of pasta for the main course, served family-style.

IMG_8990IMG_9049IMG_9051IMG_1521 IMG_9047 IMG_1469

THE SWEETSIMG_1456IMG_1457

THE “PHOTO BOOTH”IMG_9018 IMG_8993

THE HAPPY COUPLE, NOAH & ROBIN!IMG_4111IMG_1459

Congratulations to Noah & Robin! 🙂

I hope that everyone in attendance had a great time – I know I did! If you want any details about the vendors/crafts used for the event, feel free to ask questions in the comments! Thanks for stopping by.

signature

Categories: DIY, Lifestyle, Style

Apartment Style…

I’m so excited to share a few photos of my new apartment!  About 5 days ago, I moved into this pretty little studio apartment right next to USC.  Life has been kind of crazy lately, which is why I am glad that I only had to move a few floors up from my old apartment and had plenty of help throughout the process.

Although I did not have to move any furniture (as the building provides it), I had a lot of other stuff to move.  My only advice to students who might be moving soon is to invest in THIS awesome wagon!  It is a little pricey, but it holds a lot of weight.  After countless trips to CVS, Target, and Michael’s, this is how it all turned out!  I really wanted it to feel like more than a “college apartment” since I am going into my senior year and it is likely that I’ll continue to use these items after graduation.  Overall, I love having all of this extra space.  I am thoroughly enjoying living this close to my school, my friends, USC’s Greek Row, and downtown Los Angeles!

If you happen to have any questions about items below, leave them in the comments and I’d be happy to help.  For more product details, check out my Instagram account!  Enjoy!

image_2 image_3 image_4   image_6image_7image_10 image_8 image_9 image_11image_13
image_5image_12


signature

Categories: DIY, Lifestyle

Vinyl Decal + Glitter | Mason Jar DIY


I love doing DIYs with mason jars! I feel like there are so many decor possibilities for these little mason jars because they are so versatile.  I like working with them because they are great make-up brush or pencil holders and also make for cute gifts!  If you’re looking for the perfect way to decorate your mason jars, look for further! Follow this super quick tutorial and you’ll have a fab mason jar in no time!

Enjoy! 

IMG_1221

MATERIALS:

-A mason jar of any size/shape will work for this tutorial.  {Available at Michael’s!}
-GLUE, I used regular Elmer’s glue but you can also use Mod Podge.
-A vinyl decal of some sort {I got mine from BowtiqueByJacqueline!}
-GLITTER
-PAINT BRUSH
*OPTIONAL, but very helpful: a vinyl hook!  I got mine here.

Let’s get started!

STEP 1: Apply your vinyl decal to your jar!  Make sure your jar is clean and dry, then begin by peeling back the top layer of the transfer tape & pressing your design face down on the jar’s surface.  Next, peel back the transfer tape to reveal your design.

{The jar looks great as-is, but we will make your jar even prettier with glitter!}

 IMG_1222 IMG_1224

STEP 2:  And now for the fun part, the glitter bath.  Coat your jar with glue and make sure that the distribution of glue is thick enough to catch a lot of glitter, but not going to run all over the place. I used regular Elmer’s glue because it is thick enough to catch large glitter and won’t run all over!

*TIP: I placed my jar in a shoe box for it’s “bath.” It helps keep the glitter in one place and makes it easier to pour the excess glitter back into the container!

IMG_1231

STEP 3: Cover the entire surface of the jar with glitter & let dry for 2 minutes.

IMG_1232

STEP 4: Before the glue/glitter combination dries, you have to remove the decal and reveal your design – this is where the weeding tool (see materials) comes in handy!!! It was very easy to remove the decal using this tool.  Simply peek into the jar and see where the vinyl decal is hiding below the glitter & gently remove it from the jar’s exterior.  Be patient, you do not want to move around a lot of glitter because it will distort the design!

IMG_1235

STEP 5: Voilà! Let your jar dry & display it! 
{I put tissue paper inside my jar so that you could could clearly see the design in photos!}

IMG_1244

The finished product!

IMG_1259


Make sure to send me your favorite mason jar tutorials & follow my boards on Pinterest for MANY other great DIYs!

signature

Hi, I’m Jacqueline. Welcome to my fashion, beauty, lifestyle, and inspiration journal. I created Pretti Please for all of the stylish, curious, & sophisticated adventurers out there. I post about my life, my style, and the things that matter to me. Follow along as I chase my dreams in sunny Southern California. xo, Jacqueline

About me

  • Facebook
  • Instagram
  • YouTube

Follow Blog via Email

Enter your email address to subscribe to this blog and receive notifications of new posts by email.

Search


Follow along on Instagram!

Shop My Collection

Popular Posts

Apartment Style…

Teen Vogue’s Fashion University | NYC

FOLLOW @jacqueline_bridgford

Follow on Instagram

Copyright © 2025 Pretti Please · Theme by Blog Pixie